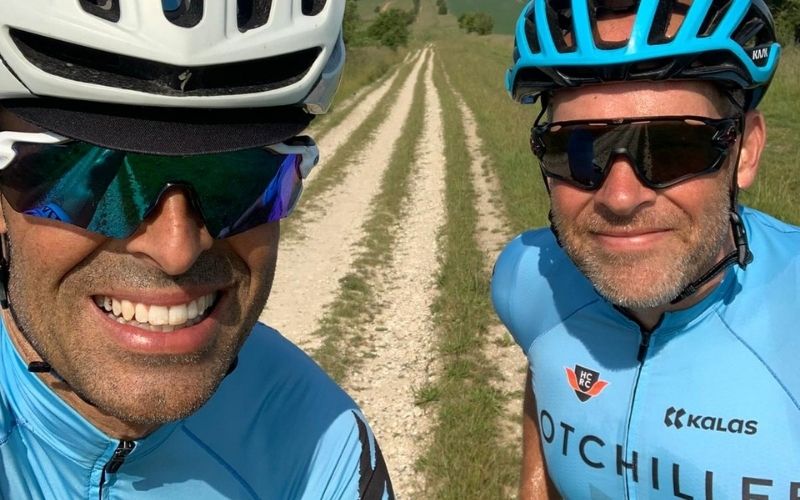
Event Essentials: Pacing Your Rides
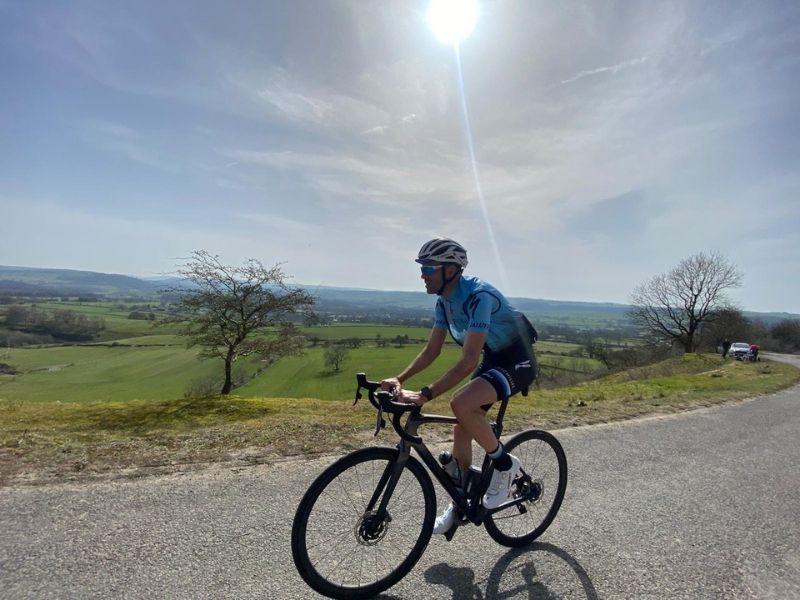
Knowing how to pace your rides is essential – especially for long and multi-day events. Learning how to pace and gauge your effort is one of the main things you’ll learn in training and, along with fuelling and hydration, is probably the real make or break factor for event enjoyment and success. Fortunately Nikalas Cook – Hotchillee’s in-house coach has some tips for you.
Far too often you see riders’ egos writing cheques their legs can’t cash, trying to push too hard and blowing up. On a single day event this can mean a miserable finish but, on a multi-day event – where a day of poor pacing’s ill effects will carryover into the next, it can easily mean a trip in the broom wagon.
Pacing and fuelling are intrinsically linked. Although you’ll often hear riders blaming stomach issues or cramping legs on what they did or didn’t eat or drink, it almost always comes down to poor pacing.
If you’re pushing too hard, your body diverts blood away from your digestive system and to your working muscles. This shuts down your digestion and, even if you put food in, it’ll just sit there making you feel boated, nauseous and not getting any energy.
Cramping is often blamed on dehydration and/or electrolyte balance but studies show it’s actually down to pushing your muscles beyond what they’re conditioned for – poor pacing. This is why you often hear riders saying that they only ever cramp on events and not in training. This is simply because on event day they think that they can magically push harder without consequences.
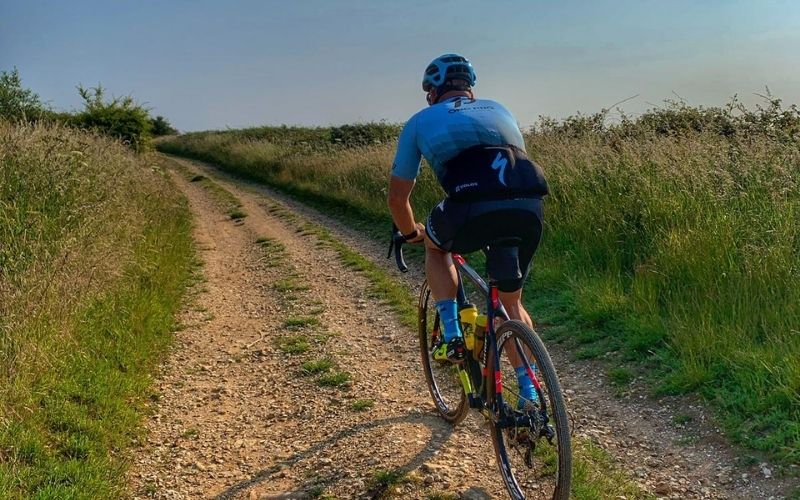
Learn to pace in training and stick to that pace on your event.
Here are three ways to pace your ride:

The Talk Test
Probably the simplest way to pace but surprising effective – especially if you’re not a fan of tech and/or like to chat!
On a long ride, you should spend the majority of the time riding at a pace where you’re able to maintain a full conversation.
On climbs, you can allow your talk rate to drop to short sentences or, if it’s really steep, single word answers but you shouldn’t be holding this intensity for sustained periods and should aim to get back to full chat mode as soon as possible after the climb.
Using Heart Rate
If you want to be a bit more scientific in your approach, heart rate monitors are an affordable and effective means of pacing.
The first thing to do when training with a heart rate monitor is to find your Functional Threshold Heart Rate (FTHR). This is your “red-line” heart-rate is is used to set accurate training/pacing zones. The British Cycling Threshold Test protocol is a good one to use.
Do not be tempted to use auto-zone calculation or formula based guesstimates – they won’t be accurate. Heart rate for a perceived effort on an indoor trainer is typically lower than riding outdoors and so you shouldn’t use an indoor test for FTHR.
Once you have this figure, you can then use this to calculate your training/pacing zones. Use the British Cycling calculator.
On a long ride, you should:
On the flat aim to hold Zones 1/2
On long gradual climbs allow it to rise in Zone 3
On steeper climbs, it can go into Zone 4 but try to minimise time in and above this zone.
Using a Power Meter
One of the biggest advantages of a power meter, especially for less experienced riders, is that it provides an objective, simple and highly effective tool for pacing. It’s a fast-track way to achieve the intuitive pacing that takes riders years and thousands of kilometres to fine tune.
Similar to heart-rate, the first steps to test for Functional Threshold Power (FTP). Again, you can use the British Cycling Protocol or as, unlike heart-rate, power production is unaffected indoor, you can test indoors on Zwift or similar.
You can then use the British Cycling calculator to calculate your power training/pacing zones.
This pretty much align to heart rate zones so
On the flat aim to hold Zones 1/2
On long gradual climbs allow it to rise in Zone 3
On steep climbs, it might well be impossible to keep your power down and keep moving but you should limit spikes into high Zone 4 and Zone 5 as much as possible. Imagine you’ve got a limited box of matches and every time you push into Zone 4 or higher, you burn one. Run out of matches and you’ll come to a grinding halt.
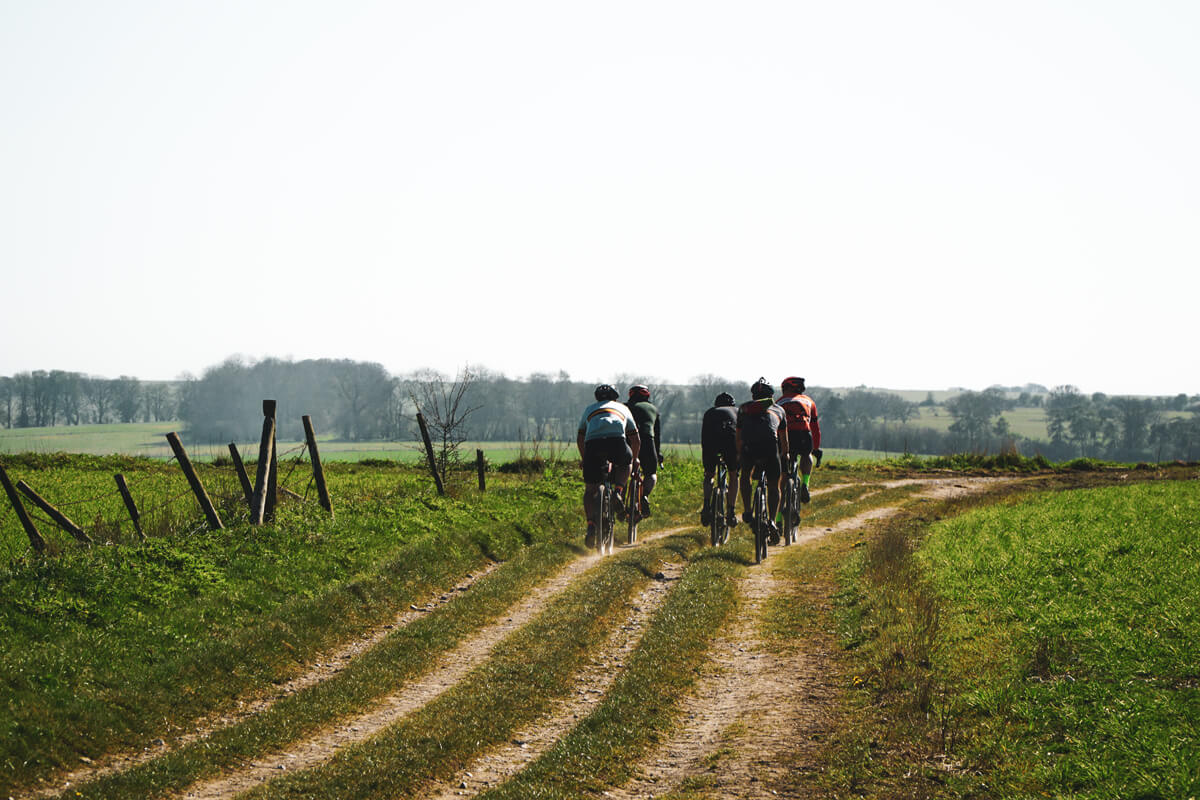
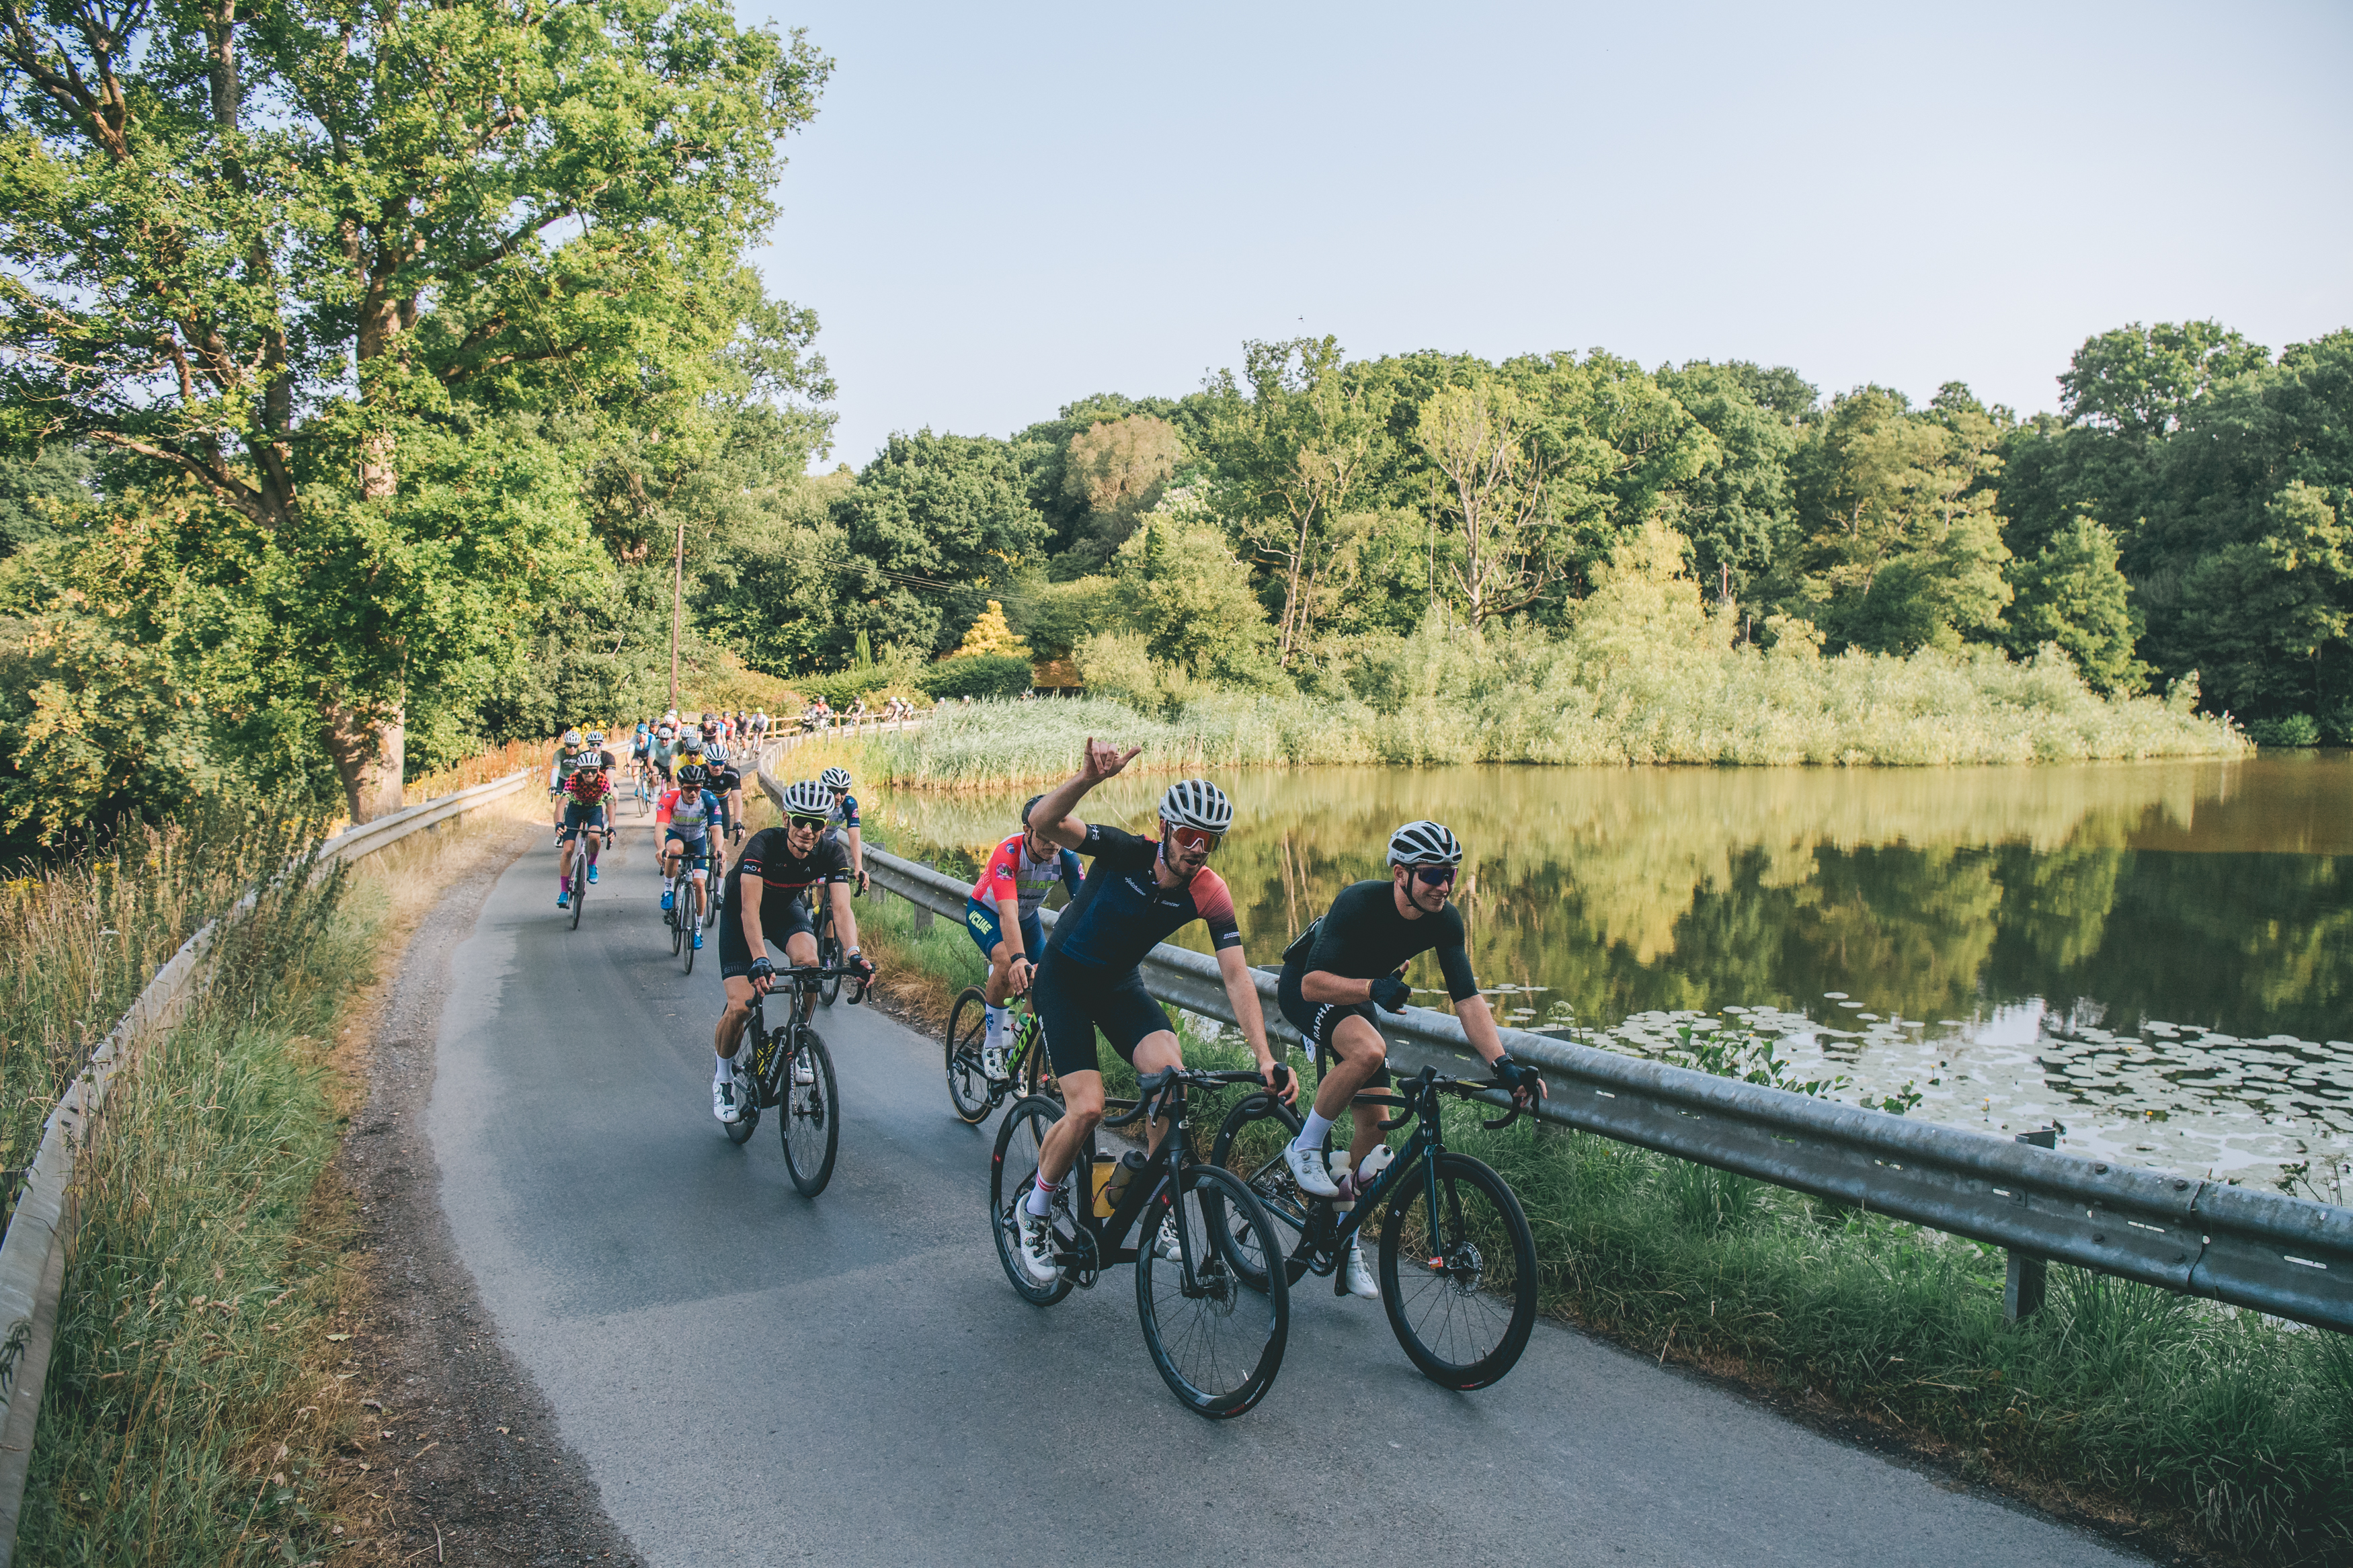
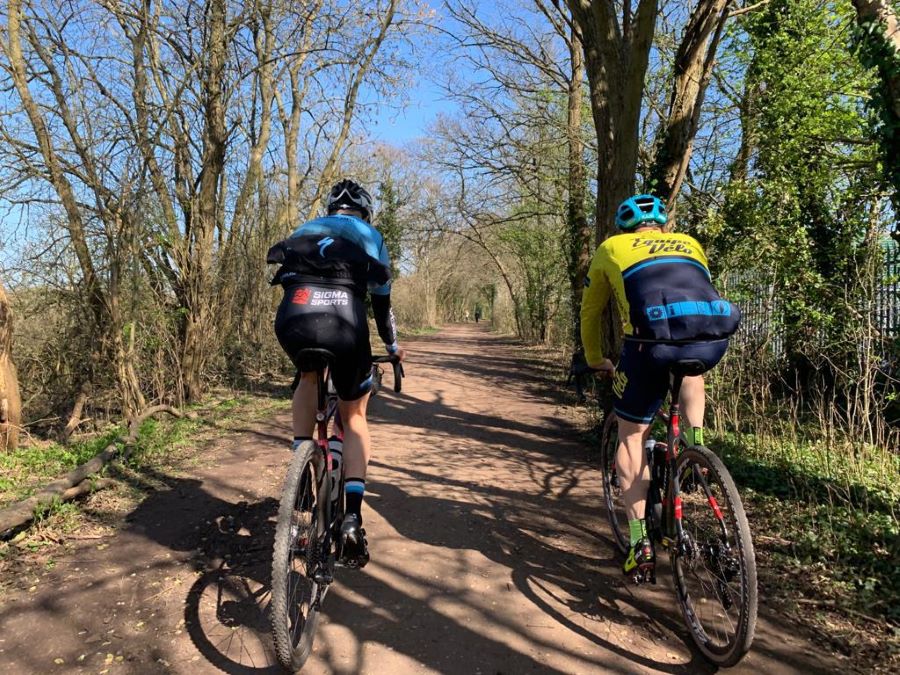
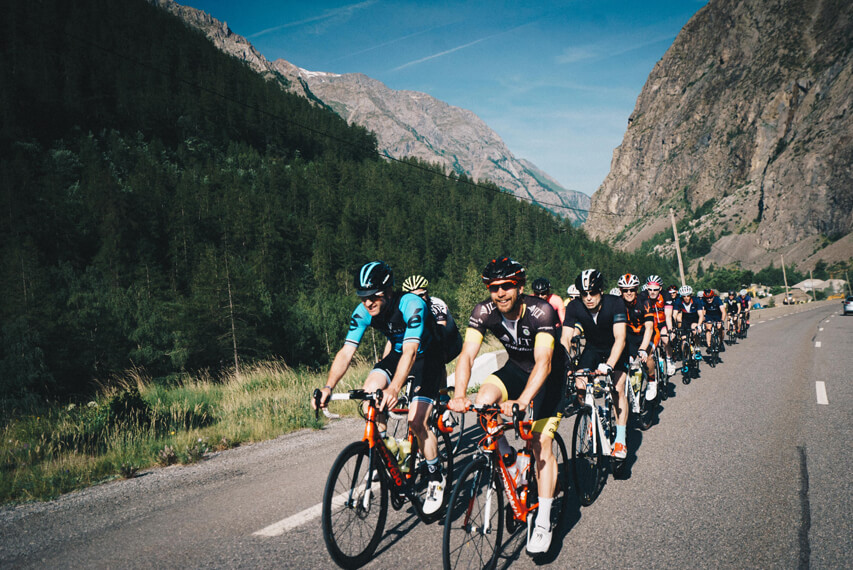
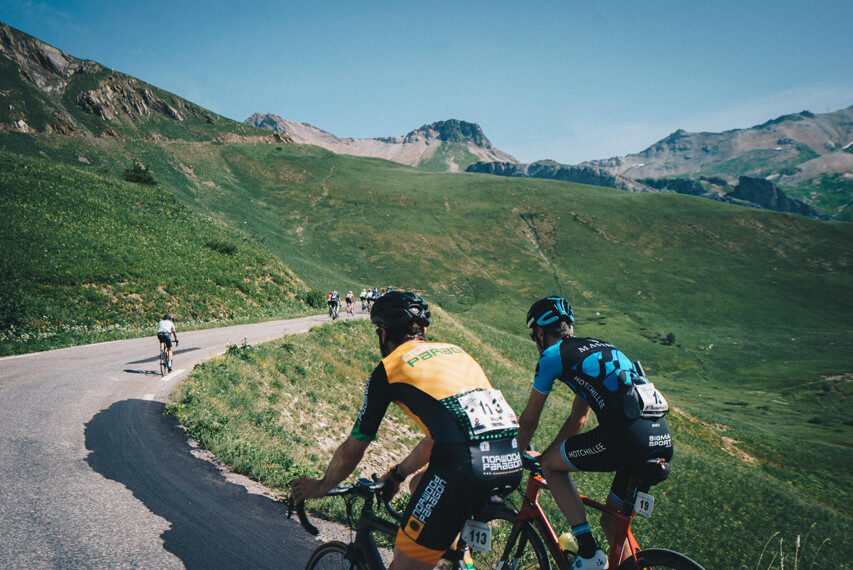
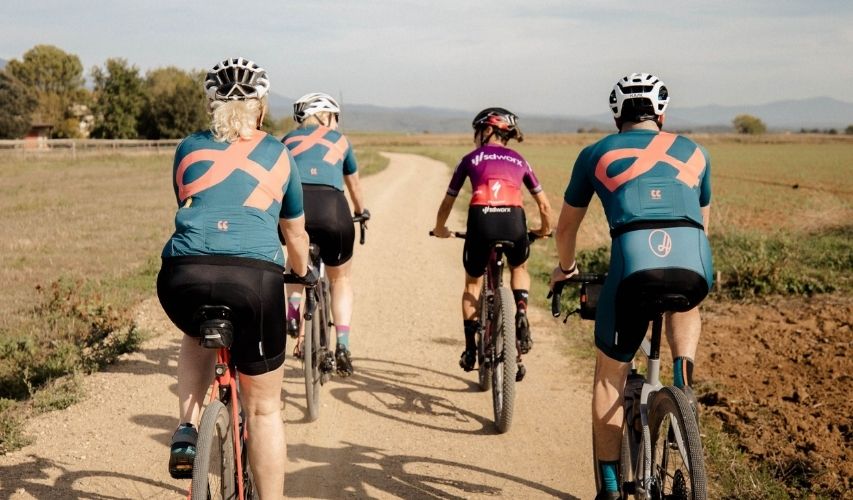
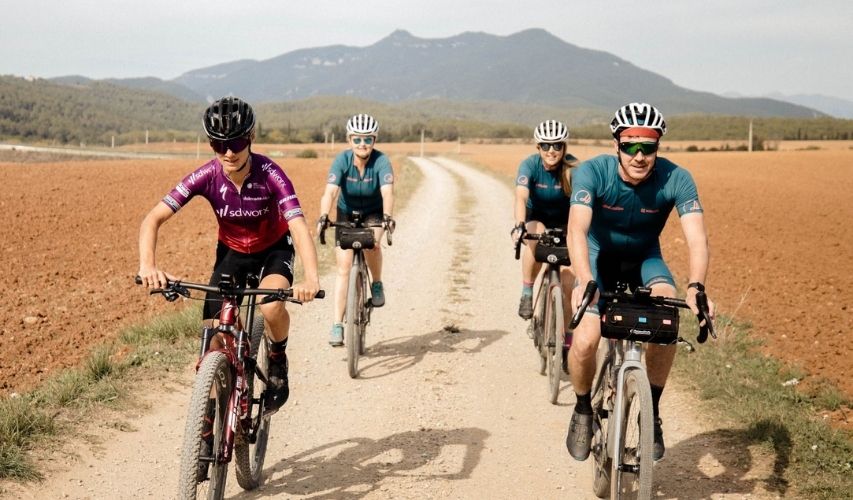
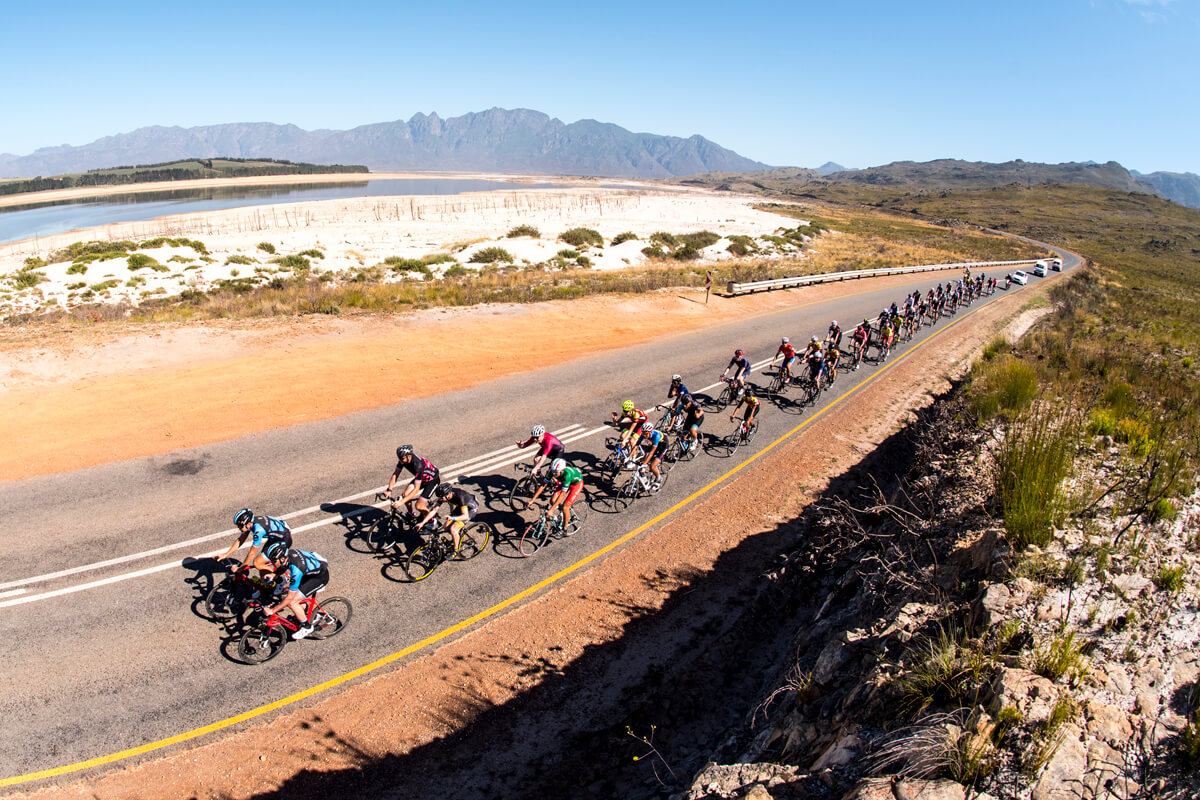
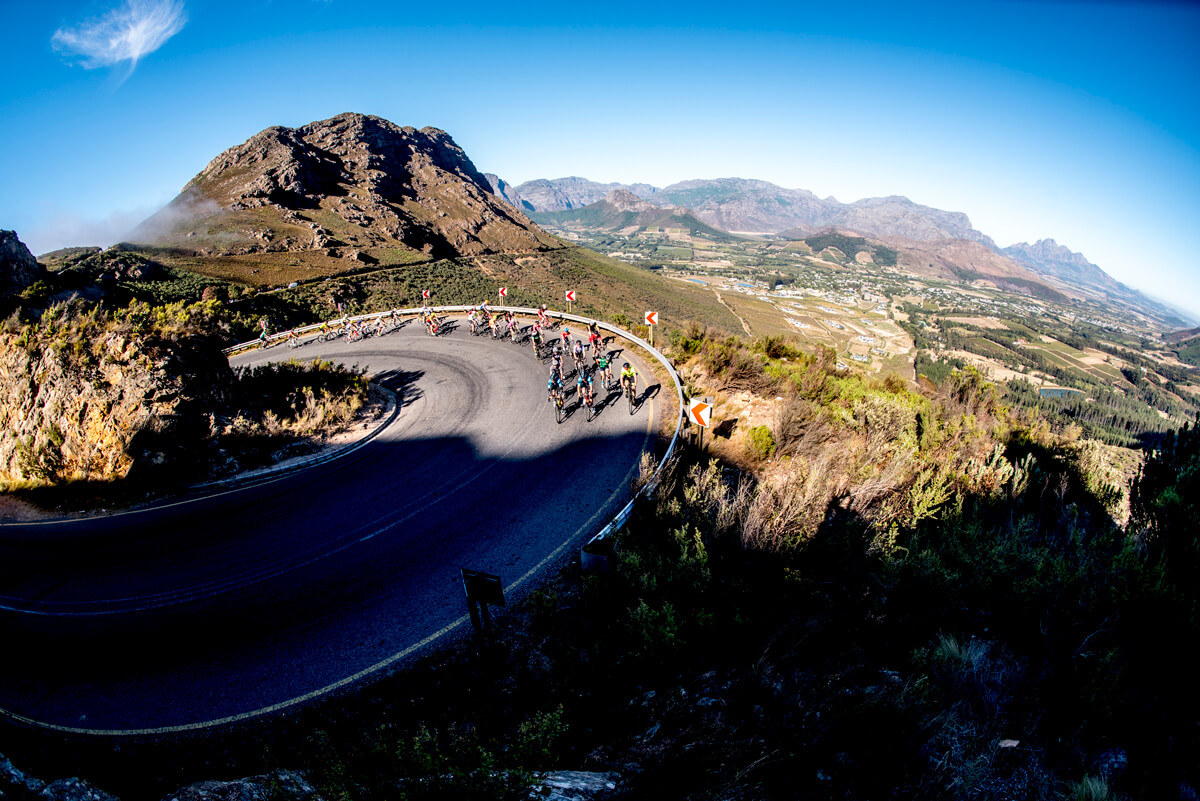
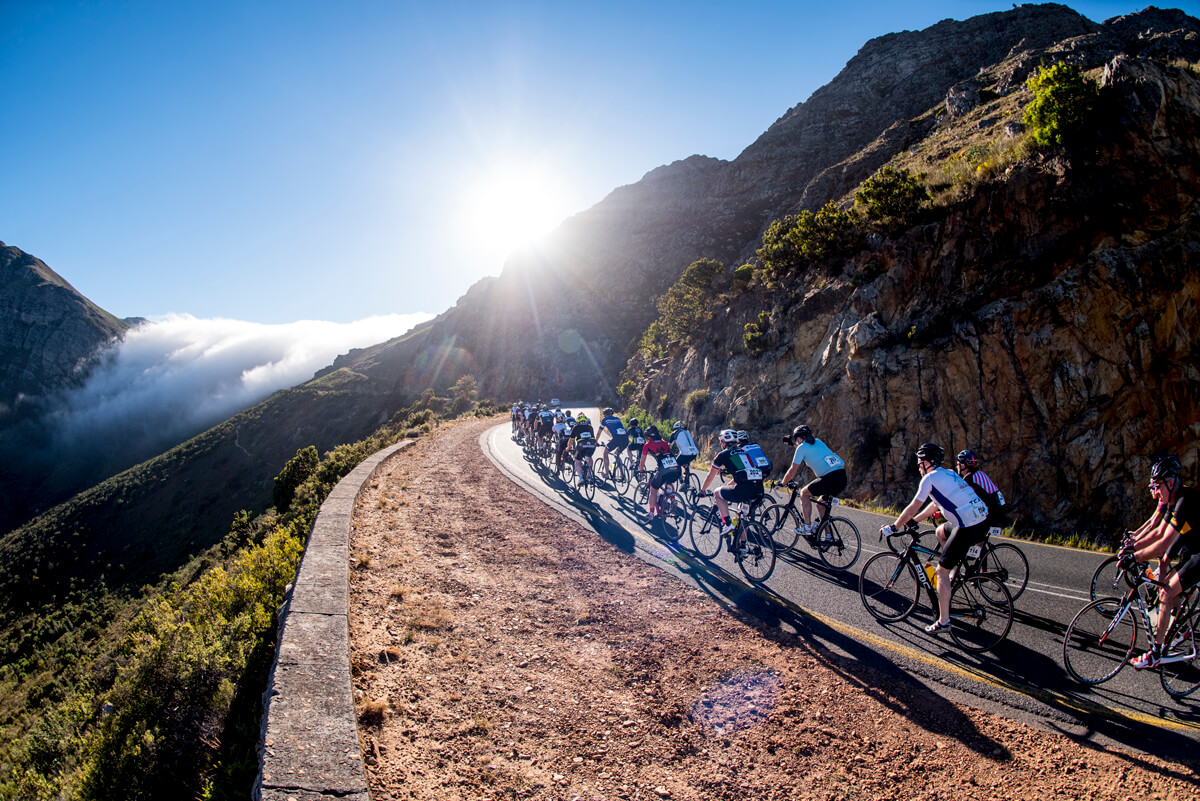
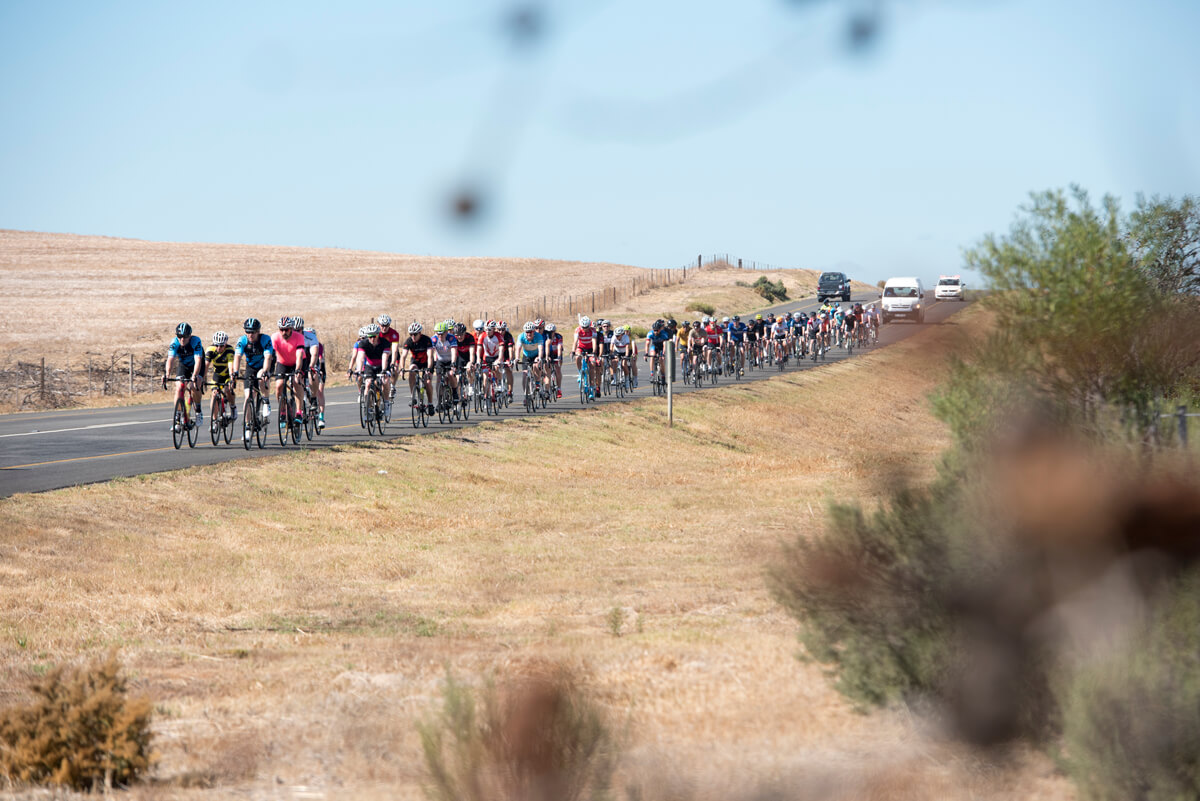
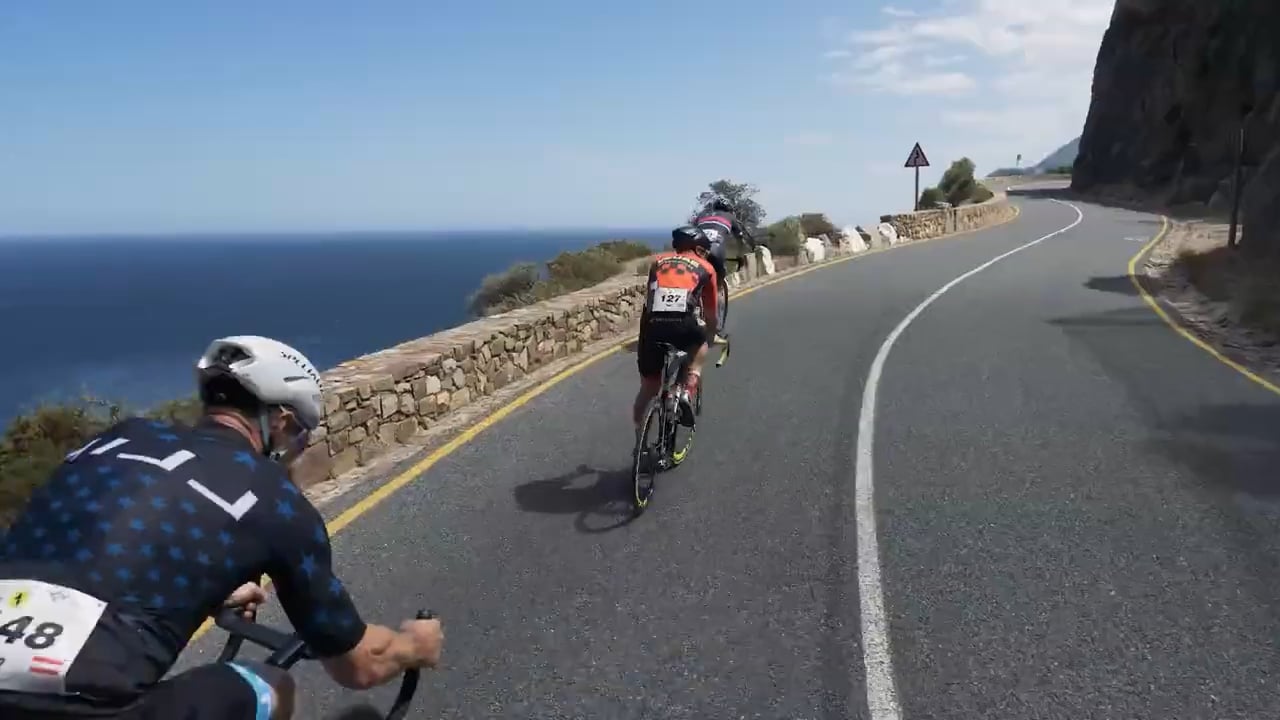
How does this apply to a Ride Group?
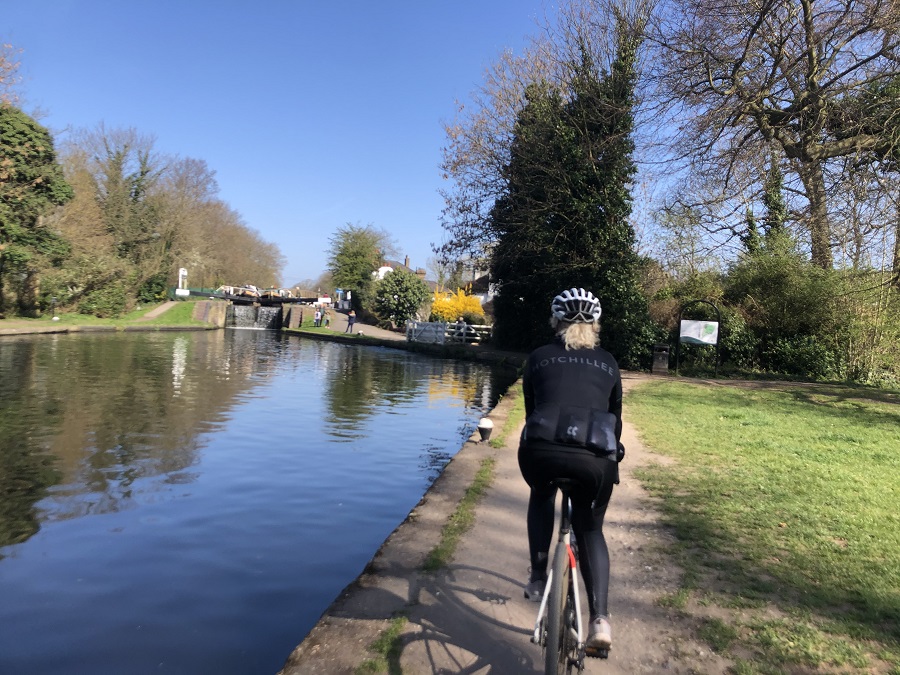
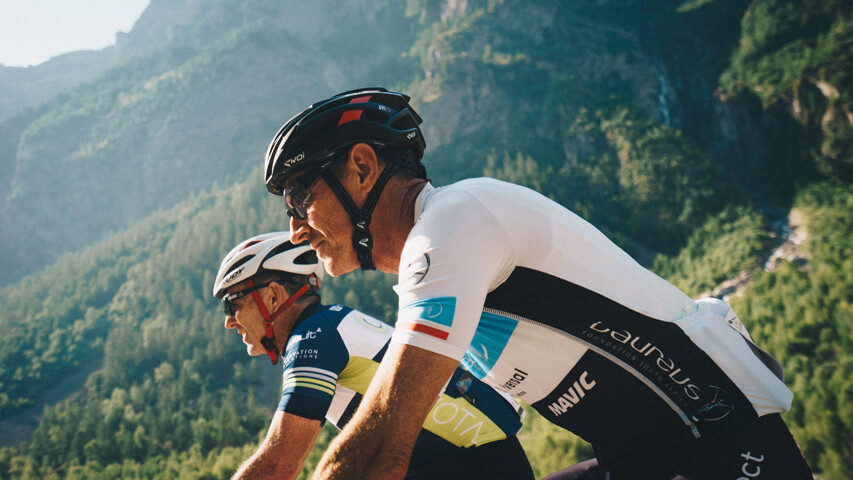
On a Hotchillee Event such as London-Paris, you’ll be riding in a group where the pace will be set by your Ride Captains.
This is where building an awareness of pacing and how this relates to your riding speed in training is essential. By pacing your training rides correctly using the techniques above, you’ll start to see the range of average speed this gives you depending on variables such as terrain and weather.
This is the main reason we ask you to submit a 100km ride by the end of May, so that we can seed you into a correct group.
If you find yourself falling between two groups or are unsure, err on the side of caution, start with the slower group and you can always move up if you find it too slow. It’s far better to have an “easy” Stage 1 and then step up than burying yourself to hang on and then having to step down.
GOT ANY QUESTIONS?
Hotchillee Premium members, or riders registered for an up-coming Hotchillee multi-day event can join the #training_plans group, or message @hotchillee_nik directly on the Hotchillee companion app.